Call us today
Out with the Old: Why Popcorn Ceilings Have Fallen Out of Favor
Still have popcorn ceilings? You’re not alone—but you’re also not stuck with them.
Once a go-to ceiling finish in mid-20th-century homes, popcorn ceilings—also known as acoustic or stucco ceilings—were popular for their ability to hide imperfections and absorb sound. But times have changed, and so have design preferences. Today, they tend to make rooms feel outdated and harder to maintain.
Here’s why many homeowners are choosing to remove them:
Outdated look that clashes with modern design
Collects dust and allergens, making cleaning difficult
Dulls lighting, making rooms feel smaller and darker
Reduces resale appeal, as many buyers see them as a drawback
Potential asbestos risk in homes built before the 1980s
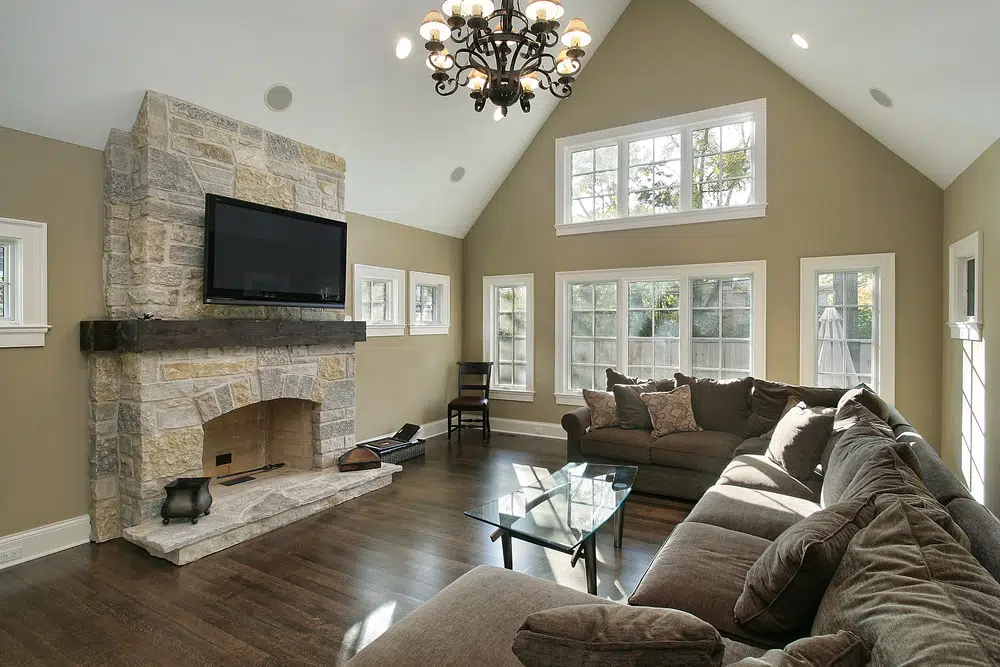
Removing popcorn ceilings gives your home a smoother, cleaner look—brightening the space and adding value with a simple upgrade.
Schedule a Free Estimate
Our Popcorn Ceiling Removal Process
At Red Rocks Painting, we make popcorn ceiling removal easy, fast, and efficient. Here’s a step-by-step look at how we transform your space—leaving you with a cleaner, brighter, and more modern-looking home.

Prepare the Area
We start by fully prepping the space to protect your home and ensure a smooth removal:
All furniture is removed or covered.
Plastic sheeting is taped to the walls, floors, doorways, and over electrical outlets and vents.
Ceiling fans and light fixtures are taken down or covered.

Spray the Ceiling Surface
Next, we lightly mist the ceiling with warm water using a spray bottle or garden sprayer. This helps soften the popcorn texture for easier removal.
-
We work in small, manageable sections room by room
-
Care is taken not to oversaturate the surface to avoid damaging the drywall beneath.
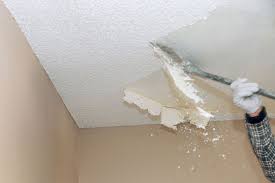
Scrape the Ceiling
Once the ceiling is damp, we begin the removal process:
A wide scraper is used at an angle to gently lift the popcorn texture.
We move in smooth, straight lines to avoid damaging the ceiling underneath.
This step is repeated section by section until the entire ceiling is clear.

Patch & Sand the Ceiling
After the texture is removed, we prep the surface for a flawless finish:
We use joint compound or spackle to fill any dents, gouges, or imperfections.
Once dry, the patched areas are lightly sanded to create a smooth, even surface across the entire ceiling.

Apply New Ceiling Texture
Depending on your style preference, one of the following finishes will be applied:
Knockdown texture
Orange peel texture
Smooth finish
This step adds a fresh, clean look and blends seamlessly with your home’s overall aesthetic.
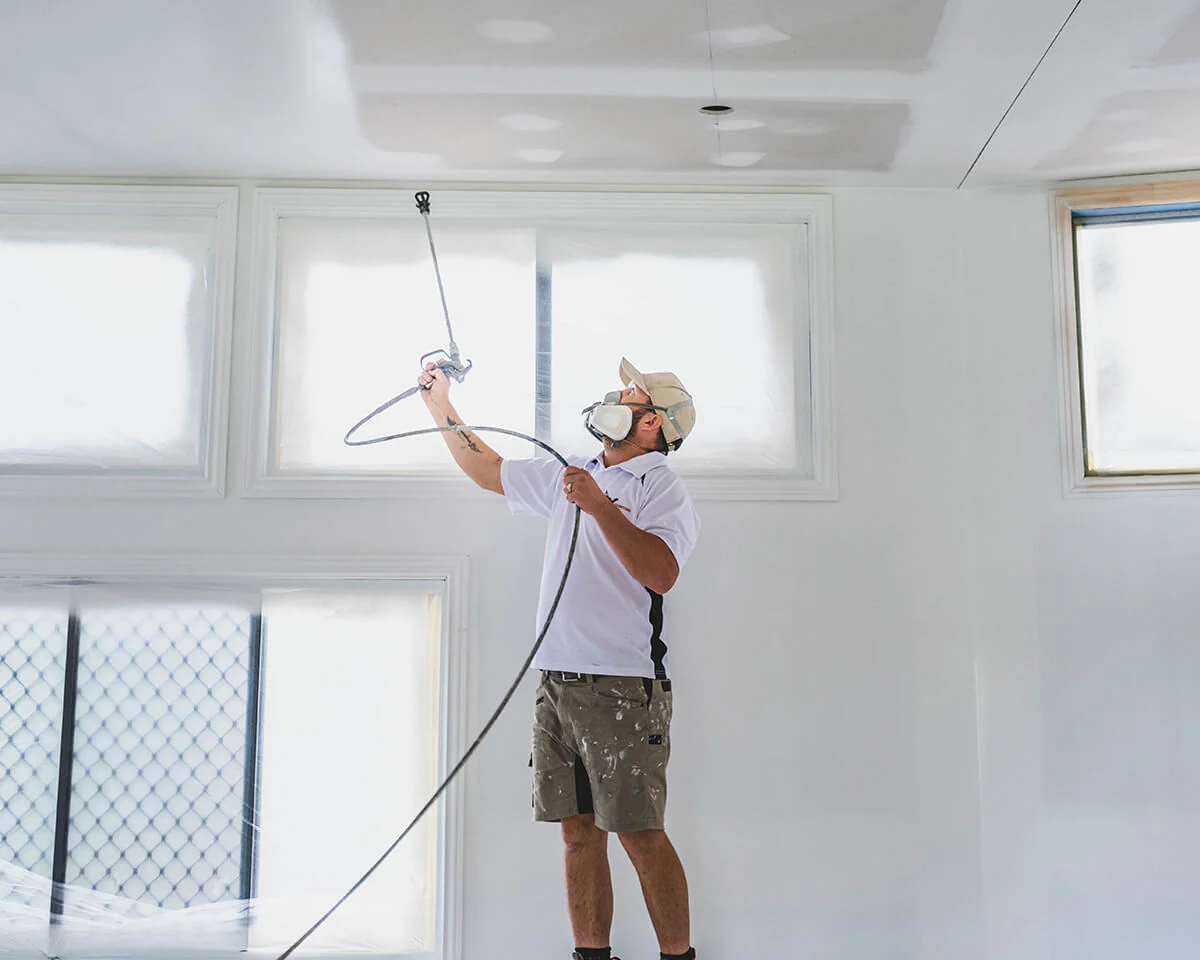
Prime & Paint the Ceiling
To complete the transformation:
A ceiling primer is applied (or a paint-and-primer combo, depending on your choice).
We use angled brushes for clean edges and rollers for a smooth, even finish.
Multiple coats may be applied for full coverage and a bright, modern look.
Final Cleanup & Walkthrough
We finish by:
Removing all protective coverings.
Cleaning the entire work area.
Conducting a final walkthrough with you to ensure everything meets your expectations.
Get Your Free, Personalized Quote to Begin Your Painting Project.
Click the GET YOUR FREE ESTIMATE button below to get started.